Client Access - Roles and Publish Toggle
Overview
MyProtektor uses a single app for all roles, there is no separate client portal. Clients download the same app as guards and admins. What they can see is controlled by their role.
This guide covers what client users can access, how site assignment works, and how the publish toggle controls incident visibility.
 Click to expand
Client Roles
MyProtektor has a client role:
| Role | Level | What they can see | Panic button |
|---|---|---|---|
| Client | 1 | Published incidents and assigned-site visibility inside the same app | Yes, included |
Clients use the same app. They cannot see:
- Draft or unpublished incidents
- Guard locations or tracking data
- Internal notes or operational comments
- Analytics, reports, or team management
- Other clients' data
Inviting and Linking Client Users
- Go to Settings > Organization > Invites in the web dashboard
- Click Invite Member
- Enter the person's email address
- Select the role: Client
- Send the invitation
The person receives an email with a link to create their account. Once they sign in, they see only what their role permits.
Site assignment: The site's Clients tab holds the client accounts assigned to that site. Any assigned client user can see that site's published incidents. To manage this, open the site's detail page and use the Clients tab.
The Publish Toggle
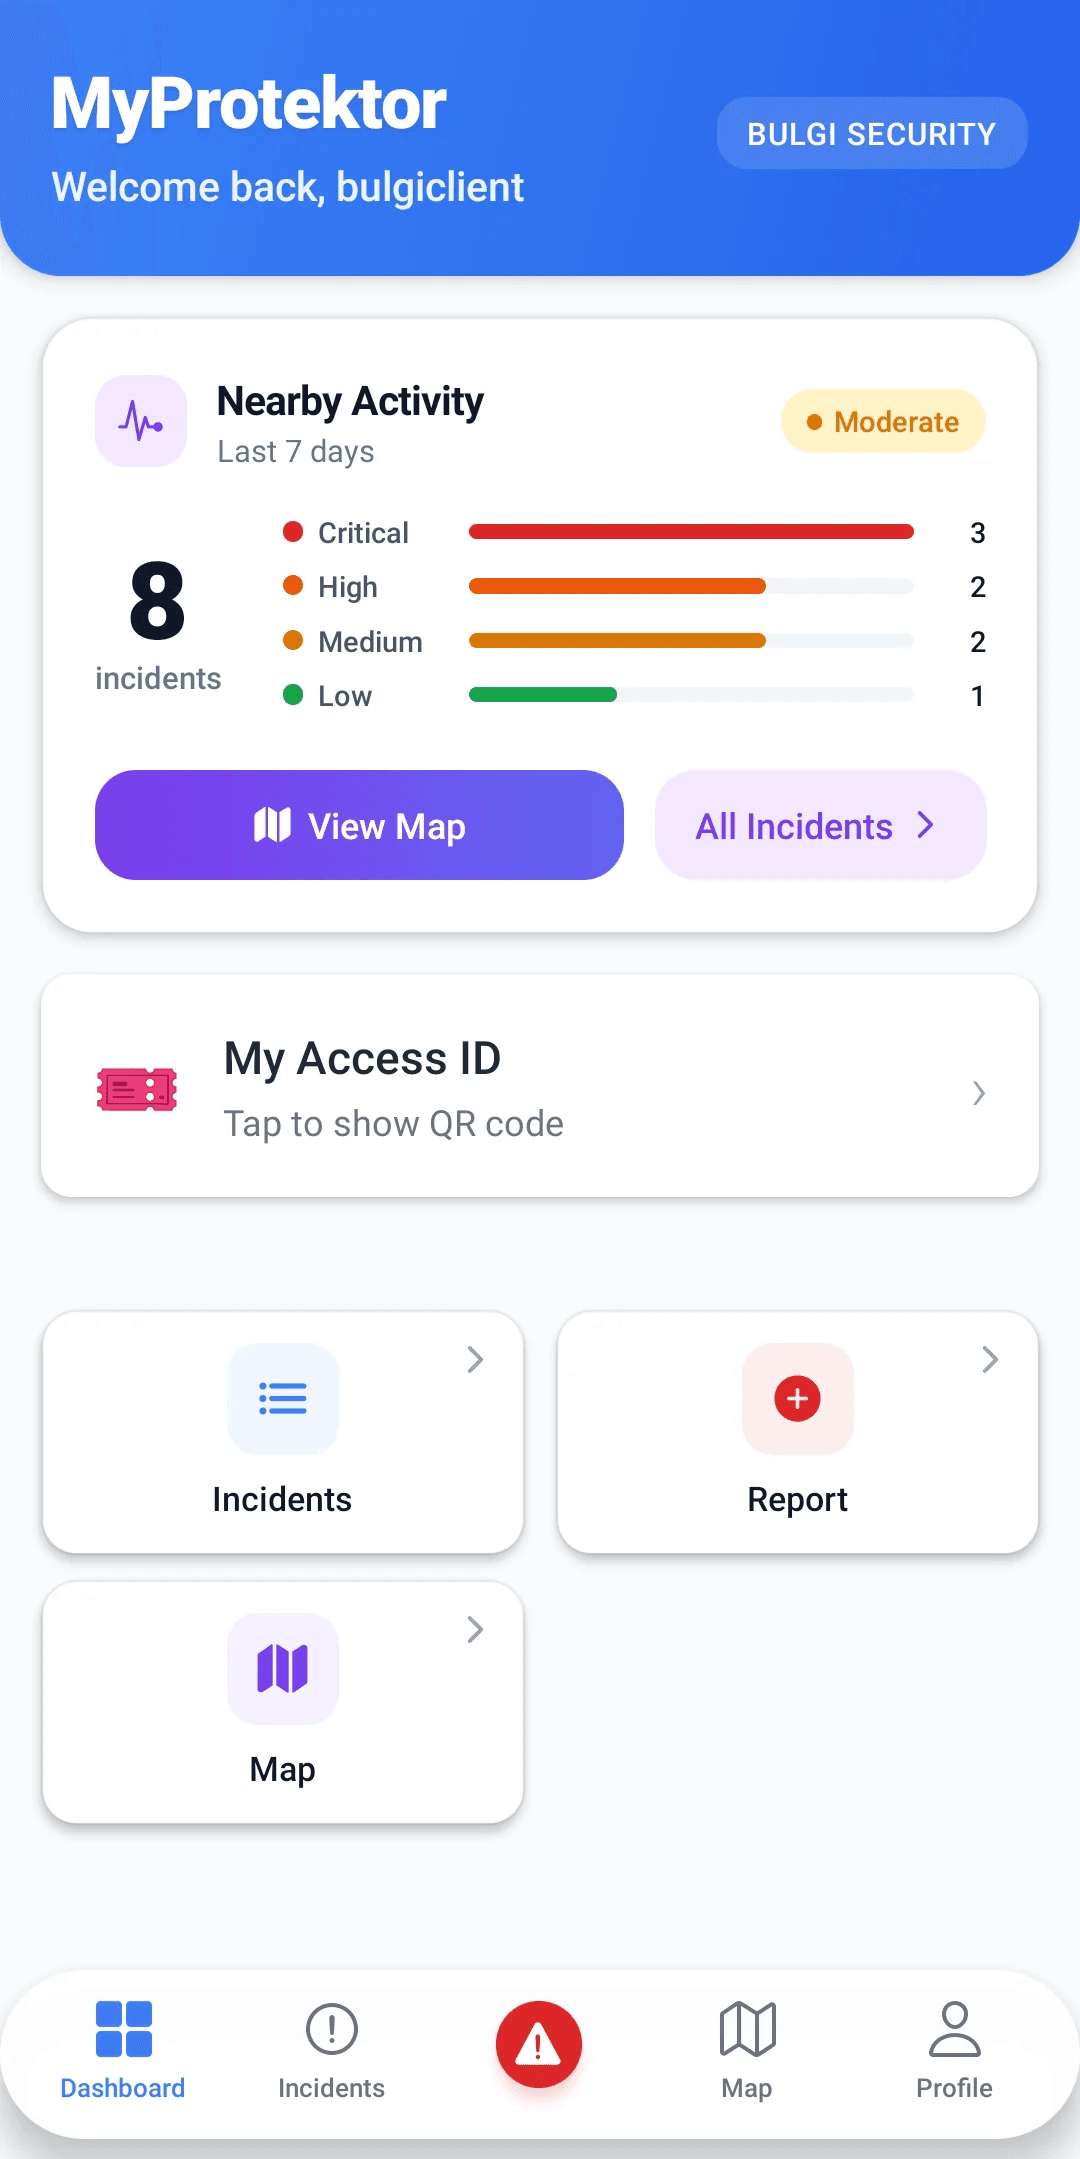
When a guard files an incident report, it enters your internal workflow. Admins see it immediately and can investigate, assign guards, and update the status.
Clients see nothing until you publish.
To publish an incident:
- Open the incident detail
- Find the Publish toggle
- Switch it to Published
The incident now appears in the client's app, for clients assigned to that incident's site. You can unpublish at any time by toggling it back.
 Click to expand
What publishing does
- Makes the incident visible to assigned Client users
- Shows the incident type, severity, status, and any public details
- Does NOT expose guard names, internal notes, or assignment details to clients
What publishing does NOT do
- It does not send a push notification to clients (they see it when they open the app)
- It does not make the incident public on the internet, only visible to authenticated users with the correct role
Related Solutions
- Client Communication -- the full solution page covering client visibility and the publish workflow
Common Issues
Client says they can't see any incidents: Check two things, (1) Is the client assigned to the correct site? (2) Are incidents for that site published?
Client asking for more detail than shown: Clients see only what is published. If they need more information, an admin should update the incident's public-facing details before publishing.
Client panic button greyed out: Confirm that emergency access is enabled for that client and that the user's account is linked to the correct site.